derryX’s Tiramisu!
Tiramisu and I go way back. I’d say back to the early 90’s.
For family parties, my mom used to prepare some incredible tiramisu. My aunts and uncles used to go crazy asking my dad if my mom was bringing tiramisu to their parties. She still makes it on occasion, I think, but it’s been a while since I’ve gone to a big family event.
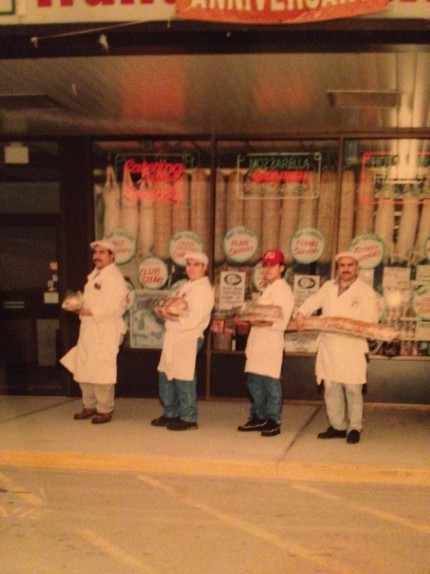
I spent a bunch of years working on the craft of making tiramisu. As you probably know, I spent a number of years working in my father’s Italian specialty store. For a while, one of my weekly responsibilities was to make tiramisu for sale in the store. The challenge there is to make something outstanding that will result in a sale that will turn a profit. I learned how to make it great, and to make it great while keeping the cost low.
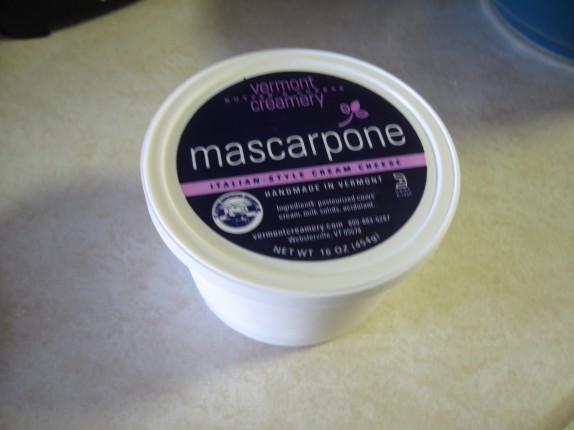
It’s been a couple of years since I last made tiramisu, so when I encountered a local marscapone cheese at Adventure in Food Trading, I thought it would be appropriate to revisit my tiramisu recipe and write a post about it; it’s something I’ve been alluding to for a long time, and you wouldn’t believe the overwhelming demand I’ve gotten from readers to post about it.
Vermont Creamery is located a few hours away from the capital region, but that’s more local that Italy. Don’t get me wrong. Italy makes some great marscapone cheeses. I’ve had much success with those cheeses in the past, but I’ve never actually found American produced marscapone cheese I’d try. Vermont Creamery makes some delicious Crème Fraîche, so I figured their marscapone would be just as good.
I was right. A quick taste revealed that it was creamy, buttery, and perfectly light in texture. The silkiness would result in a more smooth tiramisu.
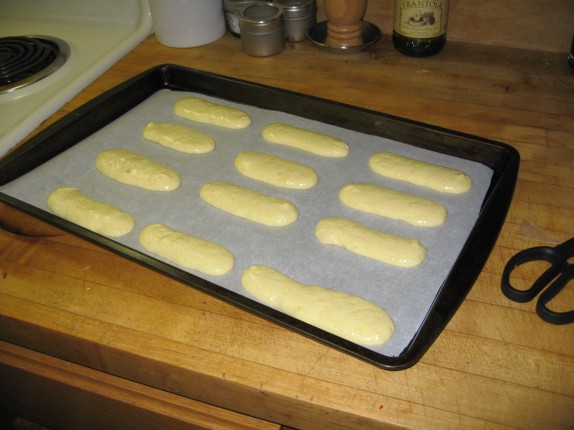
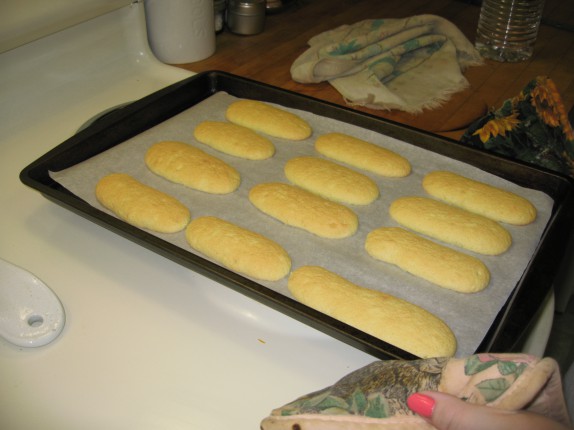
Cassie actually offered to make homemade lady finger cookies to go into the tiramisu (I believe she adapted this recipe). This was pretty huge.
I had to taste one before going through the work of making the cream. The cookies were light and sweet. When you make them at home, they are much softer than the Italian lady fingers you buy in the store. Those are usually sugar coated and dried. They make great tiramisu, but they’re not freshly baked cookies.
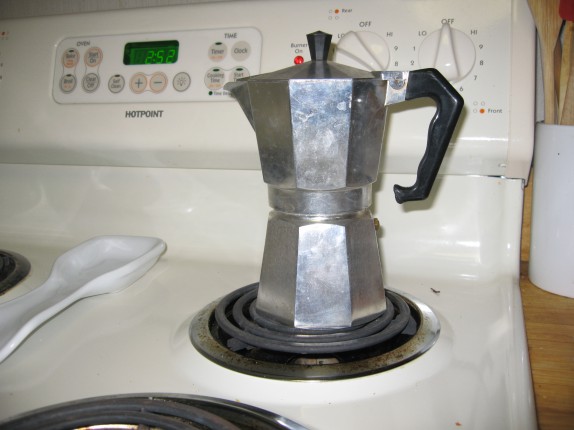
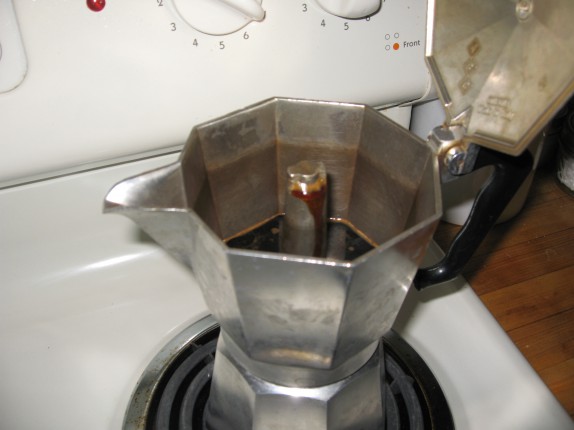
Next, I had to work on espresso coffee. I take my espresso pretty seriously, but when you’re dealing with such a large recipe, you have to figure out ways to take short cuts. I have a beautiful 15 bar espresso maker and great espresso roast beans from Uncommon Grounds, but, pulling enough shots to accommodate the whole recipe would be tedious and taxing on the espresso maker. That’s why I resort to my Moka pot, which brews a mean cup of coffee. It doesn’t exactly yield espresso, but the product is similar in strength and body and works perfectly for tiramisu.
I brewed about 12 cups (three batches — remember espresso cups are small), and chilled it along with some sweet liqueur mixed into it.
After letting the cookies dry out for a day or so and letting the coffee chill, I started working on the cream, which, aside from baking cookies (which is optional) is the largest step in this whole process.
So here’s how you make it:
Ingredients
- Six large eggs
- 8 oz of Marscapone cheese (could use 250 g)
- Good espresso coffee (at least 12 oz)
- Sweet liquor (examples: Kahlua, Tia Maria, marsala wine)
- 1/2 cup of sugar
- Good dark chocolate bars
- Sweetened cocoa powder (I use hot cocoa mix)
- Lady Finger Cookies (As many as it takes – start with 8 oz, but buy more)
Method
- Separate all six eggs into two separate bowls.
- Beat the yolks until they form a very pale mixture. (Should take at least 10 minutes using an electric mixer)
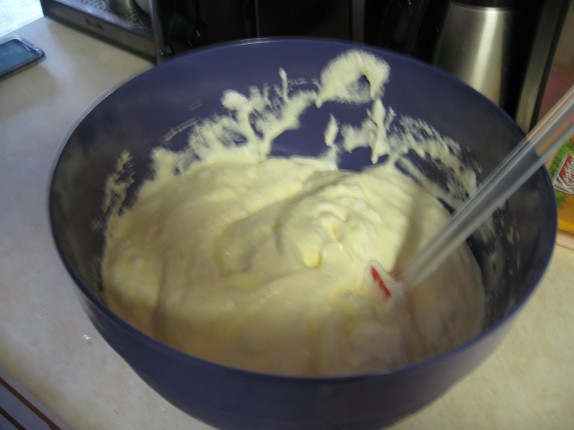
- Add the marscapone cheese to the yolks and mix for a few minutes.
- Add 1/4 cup of sugar to the yolk-marscapone mixture. Set aside in refrigerator
- Clean your mixer wisks and whip the egg whites to stiff peaks.
- Add remaining sugar to whipped egg whites. (Do not overwhip)
- Fold the egg white mixture into the yolk mixture in stages.
- Mix espresso and liquor in a shallow pan (approximately a 2:1 mixture – Coffee:Booze)
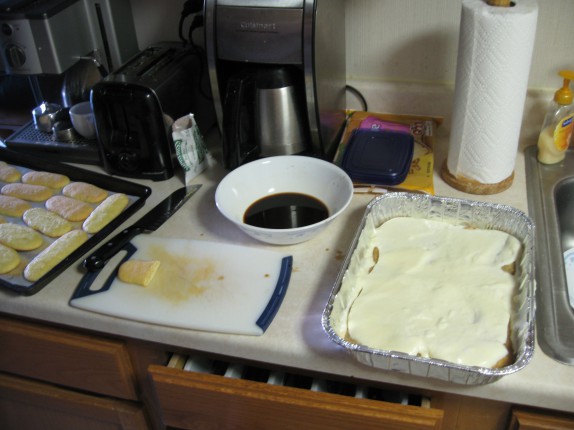
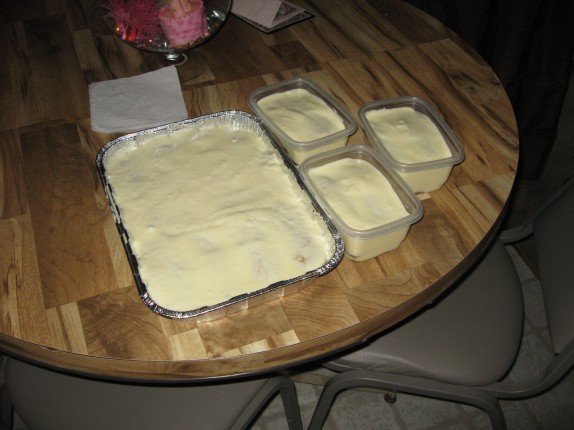
- Assemble your tiramisu into whatever pan you want. (I use a rectangular one.)
- Start with a thin layer of cream.
- Soak lady finger cookies in coffee mixture. (I barely graze them through on each side; they’re gonna soak up moisture from the cream)
- Lay the soaked cookies over the cream.
- Add a thin layer of cream and sprinkle lightly with cocoa powder.
- Layer more soaked cookies over top.
- Add more cream and sprinkle with cocoa powder.
- Continue until you’re out of cookies and cream.
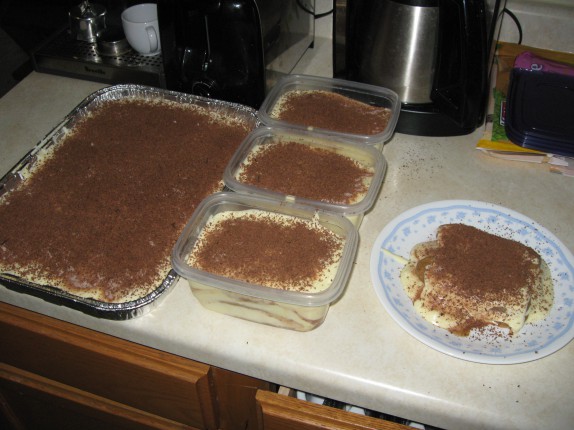
- On the final layer, dust with cocoa powder and grate the chocolate bar over the top. Be very liberal with this; you want the top to become totally dry.
- Allow to sit for at least six hours.
- Cut and enjoy
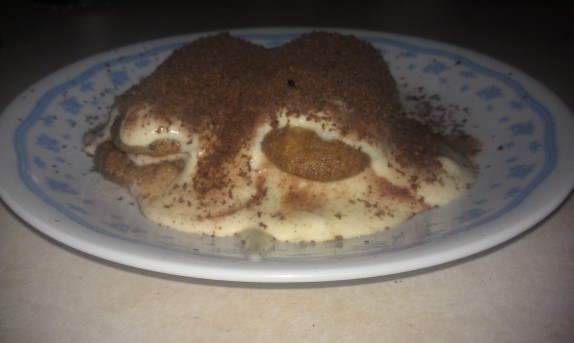
That portion on the right was my test portion that we ate hours after assembly.
How does it look?

Advertisement