GF, Cow Dairy Free Tiramisu
There was a time I was challenged by a professional wrestler.
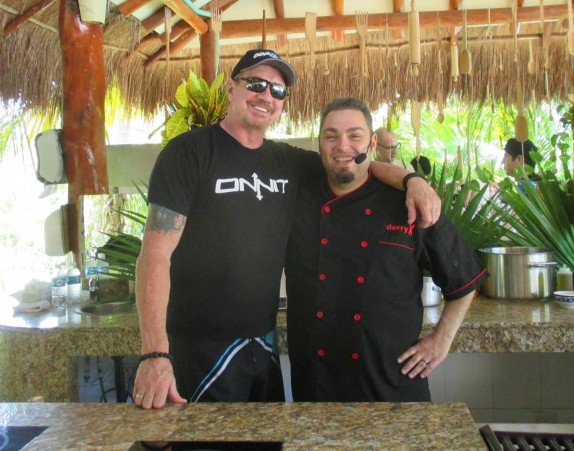
Back in June 2015, Diamond Dallas Page actually called me and challenged me to come up with a dessert that was gluten free and cow dairy free for me to present at the DDP Yoga retreat in Rivera Maya, Mexico.
How could I avoid this challenge?
The truth is that my baking skills are fairly amateur. I was worried for a few minutes!
I thought to my strengths. For years in my dad’s shop, I was the one who made the tiramisu mainly because it didn’t actually involve baking, but also because I was damn good at it. There’s the start of an idea.
I took this a step further and went to the market for inspiration. I looked through the gluten free products. When I saw a bag of Namaste Foods Gluten Free Muffin Mix, it occurred to me that I could prepare that like a jelly roll cake then slice lady finger-like pieces to build the cake. “It could work,” I thought.
The next challenge was making the cream without Marscapone cheese. I took a long shot and substituted standard goat cheese (Chevre) when I prepared it. I used a little less of that than I would of Marscapone since it could be tangy.
When I ran through a demo run at home, it all worked like a charm on the first shot. Aside from a slight difference in density, the final result tasted like the real thing! I called Dallas back and pitched it to him. He was excited because he hadn’t indulged in tiramisu in over 10 years.
Fast forward to the DDP Yoga retreat in July 2015.
Right after I told this story, Dallas started a chant, “BRING ON THE TIRAMISU!!!” The whole crowd picked up the chant, and the pressure was on!
I came out with a special large portion I made just for him, and the face he made when he bit into it was classic.
I will never forget that!

If you like this recipe and would like to contribute to future recipe development, visit my Paypal link.

| Servings | Prep Time |
| 8 Servings | 50 minutes |
| Passive Time |
| 6 hours |
|
|
|
|
By substituting lady fingers with thinly prepared gluten free muffin and marscapone with chevre goat cheese, a cleaner version of tiramisu is completely within reach! The end result is slightly more dense than the original, but tastes just as great.
|
- 6 Large Eggs
- 4 ounces Chevre Goat Cheese softened at room temperature
- 6-8 ounces Espresso Coffee
- 4 ounces Sweet Liqueur i.e. Kahlua, Tia Maria, Marsala wine
- 1/3 cup Raw Sugar
- 2 ounces High Quality Dark Chocolate 85% or above
- 1-2 tbsp cocoa powder
- 1 Box Namaste Foods GF Muffin Mix
- Coconut or Olive Oil Cooking Spray
- Combine muffin mix according to package

- Prepare an 18 x 26 “ aluminum baking sheet with coconut or olive oil cooking spray, a sheet of parchment paper, and more cooking spray.
- Spread batter evenly over baking sheet. Cook according to package directions. This will yield a thin cake.

- Allow to cool completely and slice into 1 inch x 3 inch "lady fingers".

- Separate egg whites and yolks into two bowls.
- Beat yolks until they form a very pale mixture. (Should take at least 5 minutes using an electric mixer). Add goat cheese and sugar; mix until homegeneous. Set aside in refrigerator.
- Clean your mixer whisks. Whip the egg whites to stiff peaks. (Do not overwhip
- Fold the egg white mixture into the yolk mixture in stages taking care to not knock the air out of the egg whites.
- Mix espresso and liqueur in a shallow pan or a bowl.

- Add some of the egg/goat cheese cream to serving dish. Lightly soak cake in coffee mixture. Lay the soaked cake over the cream. Add a thin layer of cream and sprinkle lightly with cocoa powder. Layer more soaked cake over top. Add more cream and sprinkle with cocoa powder. Continue until you’re out of cake and cream.
- On the final layer, dust with cocoa powder and grate the chocolate bar over the top. Be very liberal with this; you want the top to become totally dry.

- Allow to sit covered and refrigerated for at least six hours before cutting and serving.

- Get fancy with it! Cut your cake into rounds and layer cake and cream into a wine glass or other fancy clear vessel.
- Make squares or rectangles in a square pan, and cut slices like lasagna. When people see the layers on their plate, they’ll go insane!
Advertisement